Outlook (Office 365) > Vibe Integration
Use Outlook (Office 365) to automatically present your activities, events or meeting room bookings on your workplace digital signage channel.
Setup an Azure app
Option 1 - Set up a new Azure app
Step 1: New App Registration
- Go to https://portal.azure.com and open the Azure Active Directory
- Open App registrations, select + New registration and enter the following settings:
- Name - Enter a meaningful name for your app
- Supported account types - Choose the Single Tenant option
- Redirect URI - Select 'Web' in the dropdown and enter https://www.contegro.com/EventscalendarOffice365Auth.ashx
- Click [Register]
- Check the ID tokens (used for implicit and hybrid flows) tickbox below the Implicit grant and hybrid flows heading
- Click [Save]

Once saved, take note of the Application ID and Tenant ID values.
Step 2: App API Permission Setup
- Open API permissions and select + Add a permission
- Select Microsoft Graph and apply the following settings:
- Select [Delegated permissions]
- Search for Calenders.Read
- Select the Calendars.Read and Calendars.Read.Shared permissions
- Click [Add permission]
Your list of configured permissions should look like this: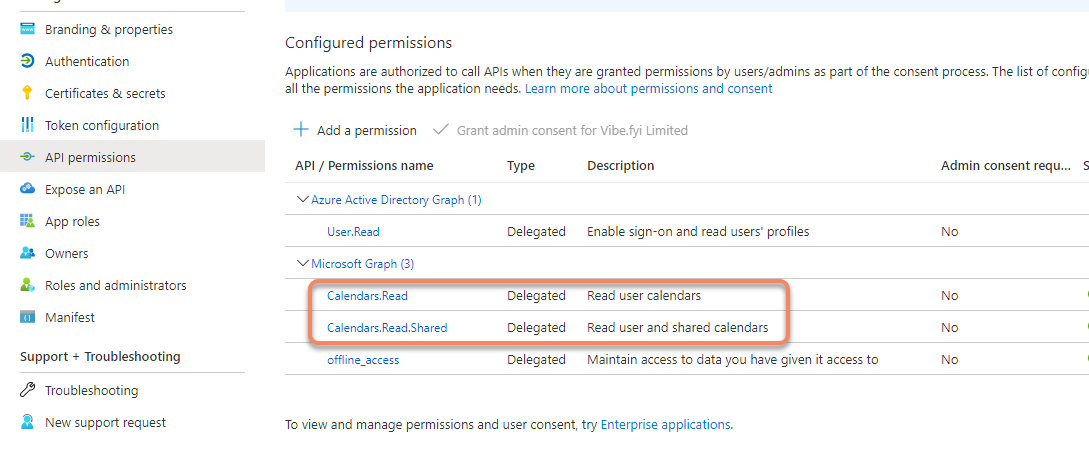
Step 3: New client secret
- Open Certificates & secrets and select New client secret
- Enter a new app key description and set the expires duration to Never.
- Click [Add]
Take a note of the new Key value in the Value column

When the steps above are complete, please go to step 2
Option 2 – Update an existing Azure app
If you have already set up an app for reading calendar events, add the following permissions.
- Go to https://portal.azure.com and open the Azure Active Directory
- Open App registrations and open your existing app
- Enter 'https://www.contegro.com/Events calendarOffice365Auth.ashx' in the Web > Redirect URI field
- Check the ID tokens (used for implicit and hybrid flows) tickbox below the Implicit grant and hybrid flows heading
- Select the Single Tenant option below the Supported Account Types heading
Step 2 - Connect your Outlook 365 calendar
- Login to your admin console
- Open Developer Tools > Modules > Global Module Settings
- Open Events Calendar
- In the Events Calendar Global Settings and complete the settings below the Add Office 365 heading:
- Name - Enter a descriptive name for your calendar
- Read events from - Choose Your calendars, Shared calendars or Your Calendars, and shared calendars
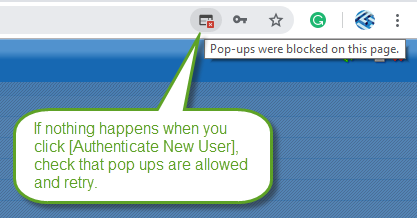
- Click [Authenticate] to open a new browser window and login to your Microsoft account*
If your browser has a pop-up blocker, please adjust the settings to allow the Microsoft login page to load.
Notes:
- Use the RSS > Items to Display selector to manage the event data that is pulled into Vibe via the Outlook 365 Calendar API.
Step 3 - Connect your Event Rss feed
- In the admin console, open Add-On Modules > Events Calendar > RSS Feeds
- Click [+ NEW RSS FEED] and complete the following fields
- Title - Free form field used to add a label for your RSS feed (e.g. Office 365)
- Enable the SHOW OFFICE 365 EVENTS toggle
- OFFICE 365 CALENDAR - Select the calendar
- Click [Save]
Step 3 - Display the Calendar in Slide
- Open portal and Click Create New Slide
- Select any event Slide that supports calendar (eg: 7 day Slide)
- Change content source to Calendar (Google, Outlook)
- Select the calendar feed you want to show on the slide