Google Sheets > Vibe Integration
Vibe's Google API module helps you to connect your Google Sheets data to your Vibe digital signage.
Step 1 - Google API project setup
Create a Google Cloud project
- Go to https://console.cloud.google.com/projectcreate
- Enter Vibe fyi integration as the project name, and make sure that an organization and location are selected
- Click [Create]
Enable Google APIs
- Go to https://console.cloud.google.com/apis/library
- Search for Google Drive API
- In the search results, click the first result, and click [ENABLE]
- Next, search for Google Sheets API and repeat step 3
OAuth Consent Setup
- Go to https://console.cloud.google.com/apis/credentials/consent
- Set the project as an "external" app and click [Create]
- In the OAuth Consent Screen page...
- Enter Vibe.fyi as the app name, and select an email address as the user support email
- Under Authorized Domains, click [Add domain] and enter your vibe.fyi portal URL (assuming that your portal’s domain name is _____.vibe.fyi)
- Enter support@vibe.fyi as the developer email address
- Click [Save and continue]
- In the Manually Add Scopes page...
- Click [Add or remove scopes]
- In the Manually Add Scopes input, enter https://www.googleapis.com/auth/spreadsheets and click [ADD TO TABLE]
- Make sure that "../auth/spreadsheets" is ticked, and click [UPDATE]
- Click [Save and continue]
Create Credentials
- Go to https://console.cloud.google.com/apis/credentials
- Click [Create credentials] and select oauth client id
- In the Application type dropdown, select web application
- In the Name field, enter your site's name or URL
- Under Authorized Javascript Origins, click Add uri and enter your site's domain name (including https)
- Under Authorized redirect URLs, click Add uri and enter a URL (e.g. use your site's domain name https://{example.vibe.fyi}/Modules/GoogleApi/Authenticate.ashx)
- Click [CREATE]
- Next, send your client ID & secret to support@vibe.fyi or login to your Vibe admin console and enter the details in the Google API global module settings

Please wait at least 10 minutes before proceeding to step 2 below
Step 2 - Connect your Google Account
- Login to your admin console
- Open Developer Tools > Modules > Global Module Settings
- Open Google API
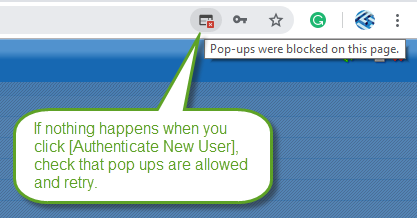
- Use the [Authenticate New User] option to authenticate one or more Google Accounts

If your browser has a pop-up blocker, please adjust the settings to allow the 'Google sign in' page to load.
Step 3 - Link to your Google Drive folders
- In Google Drive, open the folder (where your sheets will be stored) and copy the folder ID in the address bar
- In the Vibe.fyi admin console
- Open Developer Tools > Modules > Global Module Settings
- Open Google API
- Paste the folder into the Google Drive Folder IDs field
- Repeat steps 1 & 2 as needed
Step 4 - Prep your Google Sheets
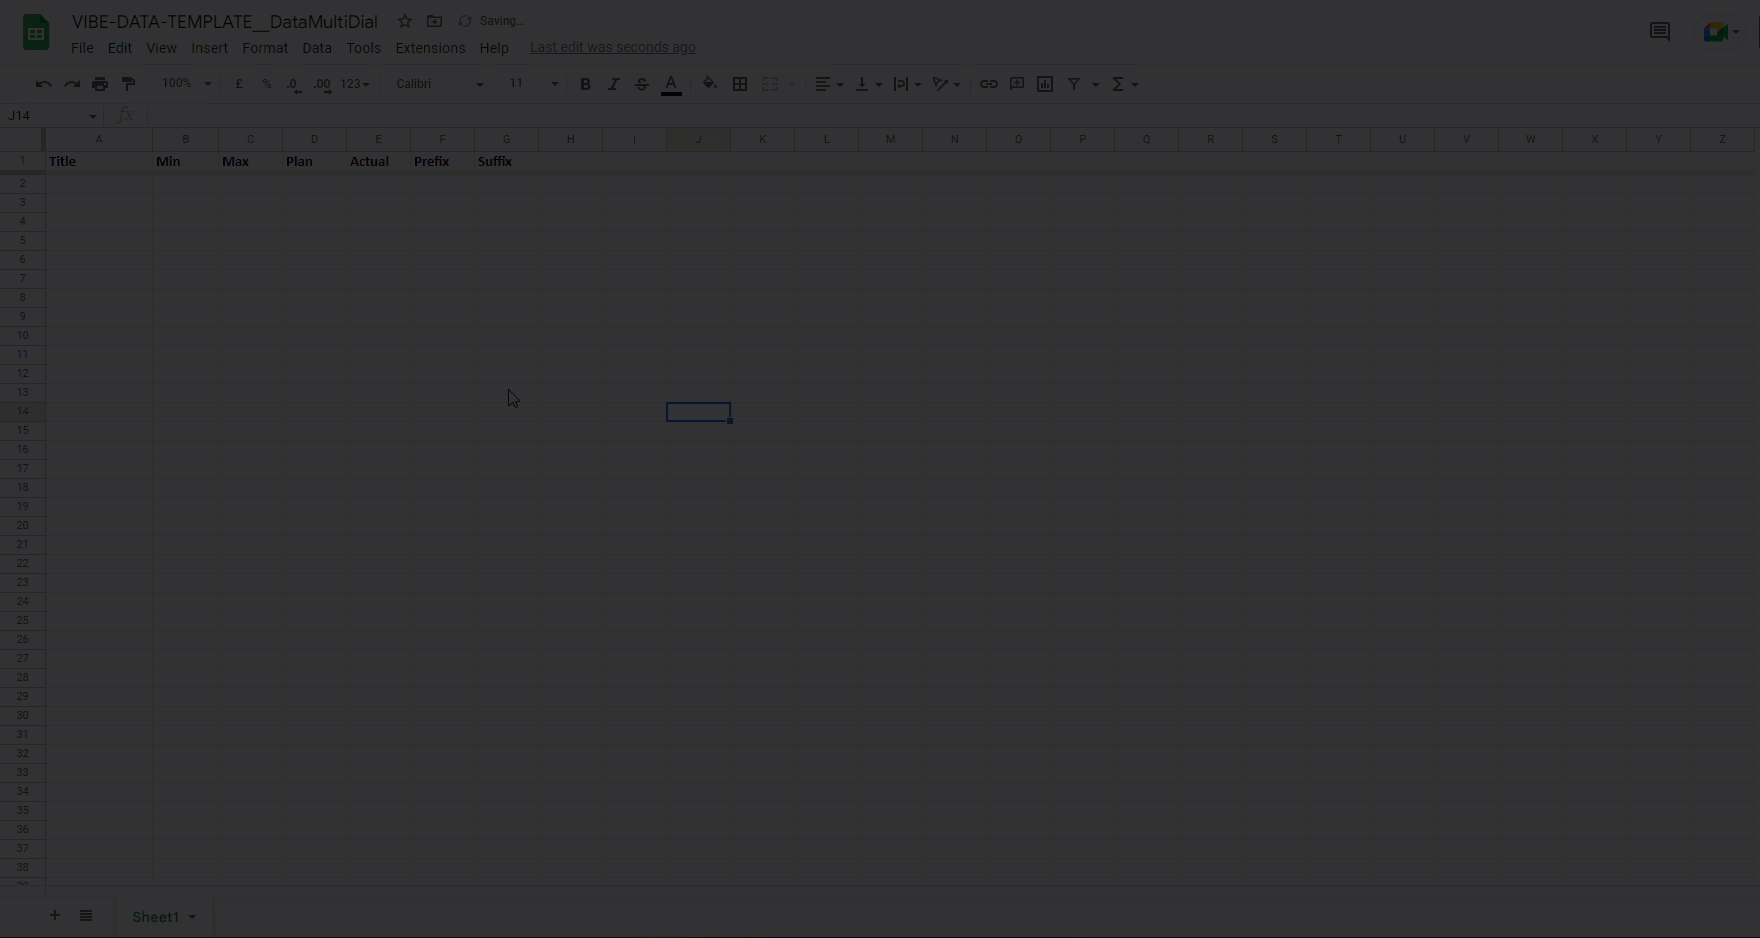
Create your Google Sheet using a Vibe data template
1) Create your slide and download the Vibe data template
- In your Vibe portal, create a new slide and select the template that you'll be using to share your Google Sheets data
- In the slide editor, select the 'File Upload' content source option to access the data template (XLSX)
2) Upload the Vibe data template to Google Drive and save it as a Google Sheet
- In Google Drive, upload the data template (XLSX) file into one of your connected Google Drive folders
- Open the data template (XLSX) with Google Sheets and save it as a Google Sheet
- Return to your Google Drive folder and delete the XLSX file
- Open the saved Google Sheet and edit as needed
3) Connect your Google Sheet to your slide
- In your Vibe portal, open the slide created in step 4.1 above
- Select 'Google Sheets' in the Content Source dropdown
- Select the file that you want to use to manage your content in the Google Spreadsheet dropdown
Data Entry
Empty cells
Empty columns and rows affect the API's ability to pass data from your google sheet file to Vibe. Please ensure that you delete all empty columns and rows to avoid errors occurring.
- In Google Drive, open your google sheet
- Select all empty columns and delete
- Select all empty rows and delete
If this error occurs while attempting to delete empty rows, open View > Freeze and select No Rows. Then retry the deletion steps.
Images
Valid URLs can be used to add images via your Google Sheet. We highly recommend hosting images locally on your website, a secure site or an FTP folder with 'Read' permissions.
To link to an image URL, enter =image("<add URL between quotations>") in the cell.
Caching
The 'Minutes to cache Google API calls' global setting determines how long it takes for documents and changes within the linked Google Drive folder(s) to be updated.
To edit the minutes to cache setting, open Developer Tools > Modules > Global Module Settings > Google API in your admin console.