Information Bar
The Information Bar is your central tool for delivering high‑priority messages across large format displays, screensaver and/or WebView. It ensures that critical updates, announcements, and alerts are visible to your audience without being lost in the noise of everyday communication. Whether you’re managing routine notifications or time‑sensitive updates, the Information Bar provides a reliable way to keep everyone informed.
🚨 Emergency Full-Screen Takeover

Enterprise clients benefit from exclusive features, including Emergency Full-Screen Takeover and Info Full-Screen Takeover—designed to provide maximum visibility and prioritize critical messaging.
When critical information simply cannot be missed, the Emergency Full-Screen Takeover ensures your message dominates the entire display. Unlike standard notifications that appear as a bar at the bottom of the screen, this feature transforms alerts into a commanding, full-screen experience that immediately captures attention.
ⓘ Info Full-Screen Takeover
When vital information must stand out, the Info Full‑Screen Feature ensures your message takes center stage. This enterprise‑exclusive capability expands updates into a full‑screen format that commands attention without the intensity of an emergency alert. Designed for clarity and impact, it provides a powerful way to deliver announcements, policy changes, or system notices that simply cannot be overlooked.

The Info Full-Screen and Emergency Full-Screen transform the Information Bar from a notification tool into a mission‑critical communication system. By upgrading, organizations can ensure that urgent messages are not just seen — they are impossible to miss.
Manage Info Bar Alerts
Creating alerts is a straightforward process that allows you to convey important messages to your audience in a visually appealing and timely manner.
Create Alert
- Click on [Create New Alert] to begin the process
- Required: Add your alert text. This is the message you want to convey to your audience.
- Optional - Use the Theme dropdown to select your preferred info bar design and advanced schedule to set publish dates for your alert.
- Once you've configured your alert, click Save to save your settings and create the alert.

Pro Tips:
- When adding multiple info bar alerts, consider using a variety of themes to make each one stand out. This can help capture your audience's attention effectively.
- By default, all locations are assigned to new info bar alerts. However, if you want to specify where each alert should appear, navigate to the "Location" tab and adjust the settings accordingly.

Optional: You can customize your alert further by using the Theme dropdown menu. This allows you to choose your preferred info bar design, enhancing the visual appeal of your alert. Additionally, you can utilize the advanced scheduling feature to set specific publish dates for your alert, ensuring it goes live at the right time.
Copy Alert
To duplicate an existing alert, follow these steps:
- Select the Alert to Copy: Identify the alert you wish to copy from the list of available alerts.
- Click the Three Dots: Locate the three dots icon located alongside the alert you want to duplicate. Click on it to reveal a menu.
- Choose Copy: From the menu that appears, select the Copy option.
- Name Your New Information Bar: After selecting "Copy," you will be prompted to enter a name for your new information bar. Enter your text and click Copy to proceed.
Optional Enhancements: If desired, you can further customize your duplicated information bar by using the Theme dropdown menu to select your preferred design. Additionally, you can take advantage of the advanced scheduling feature to set specific publish dates for your alert.
Delete Alert
- Select the Alert to Delete: Identify the alert you wish to copy from the list of available alerts.
- Click the Three Dots: Locate the three dots icon located alongside the alert you want to delete. Click on it to reveal a menu.
- Choose Delete: From the menu that appears, select the Delete option. Select [Yes, Delete] to confirm deletion.
Notes:
- The info bar is designed to display one or more alerts at one time. All active alerts will animate onscreen continuously until they are deleted or the publish end date passes.
- Alerts will auto-scroll (horizontally) if the text does not fit within the default screen width.
- Slides are hidden when using a full screen theme.
- Admin users can use the Themes Manager in the admin console to tailor your info bar design.

A slide screen takeover supersedes any concurrent full-screen alerts in terms of priority, including matching dates, times, and locations.
Information Bar settings
Advanced Scheduling (Set Publish Dates)
Use the Advanced Schedule to control when your info bar alert appears onscreen.
Set an end date to automatically hide alerts from showing onscreen. All expired alerts will be archived in your portal and can be reused or deleted.
Location
By default, new alerts are assigned to all screen/device/WebView locations that you can access. Use the Location Manager to control these settings and make adjustments if you want to assign your alert to specific locations.
Remove all locations to hide your info bar and archive it in your portal.
Permissions
Use the permission control limit or allow access to any portal user groups you belong to. By default, admin users will have access to all info bar alerts.
If you disable all user groups that you belong to, you will lose access to the info bar alert. In this event, contact your administrator or support@vibe.fyi to request that access is reinstated.
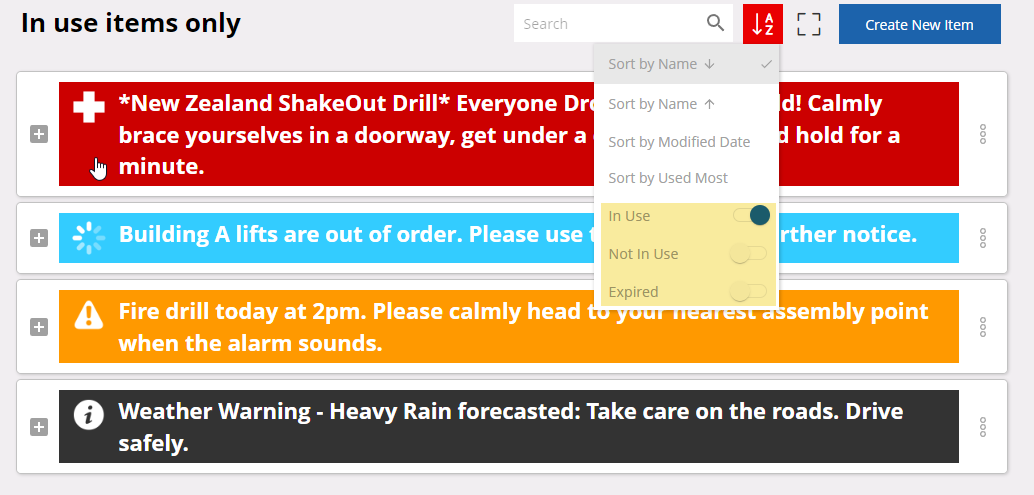
Search
Use the filters to view all, in use, not in use and/or expired alerts.
Themes
Preset Examples
The Default theme is designed with your branding in mind and is applied to all new alerts by default. If you require any changes, please ask your administrator to access the Theme Manager via the admin console or contact support@vibe.fyi. You can also choose from one of the pre-set themes below: